Usage
File import
To import a file:
- Click Import Media File on the File menu (or the '+' icon on the toolbar, or Command/Ctrl + O).
- Choose an audio or video file.
- Select a task, language, and the model settings.
- Click Run.
- When the transcription status shows 'Completed', double-click on the row (or select the row and click the '⤢' icon) to open the transcription.
| Field | Options | Default | Description |
|---|---|---|---|
| Export As | "TXT", "SRT", "VTT" | "TXT" | Export file format |
| Word-Level Timings | Off / On | Off | If checked, the transcription will generate a separate subtitle line for each word in the audio. Enabled only when "Export As" is set to "SRT" or "VTT". |
(See the Live Recording section for more information about the task, language, and quality settings.)
Live recording
To start a live recording:
- Select a recording task, language, quality, and microphone.
- Click Record.
Note: Transcribing audio using the default Whisper model is resource-intensive. Consider using the Whisper.cpp Tiny model to get real-time performance.
| Field | Options | Default | Description |
|---|---|---|---|
| Task | "Transcribe", "Translate" | "Transcribe" | "Transcribe" converts the input audio into text in the selected language, while "Translate" converts it into text in English. |
| Language | See Whisper's documentation for the full list of supported languages | "Detect Language" | "Detect Language" will try to detect the spoken language in the audio based on the first few seconds. However, selecting a language is recommended (if known) as it will improve transcription quality in many cases. |
| Quality | "Very Low", "Low", "Medium", "High" | "Very Low" | The transcription quality determines the Whisper model used for transcription. "Very Low" uses the "tiny" model; "Low" uses the "base" model; "Medium" uses the "small" model; and "High" uses the "medium" model. The larger models produce higher-quality transcriptions, but require more system resources. See Whisper's documentation for more information about the models. |
| Microphone | [Available system microphones] | [Default system microphone] | Microphone for recording input audio. |

Record audio playing from computer (macOS)
To record audio playing from an application on your computer, you may install an audio loopback driver (a program that lets you create virtual audio devices). The rest of this guide will use BlackHole on Mac, but you can use other alternatives for your operating system ( see LoopBeAudio, LoopBack, and Virtual Audio Cable).
Install BlackHole via Homebrew
brew install blackhole-2chOpen Audio MIDI Setup from Spotlight or from
/Applications/Utilities/Audio Midi Setup.app.
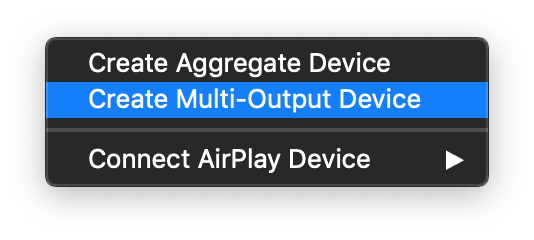
Click the '+' icon at the lower left corner and select 'Create Multi-Output Device'.
Add your default speaker and BlackHole to the multi-output device.
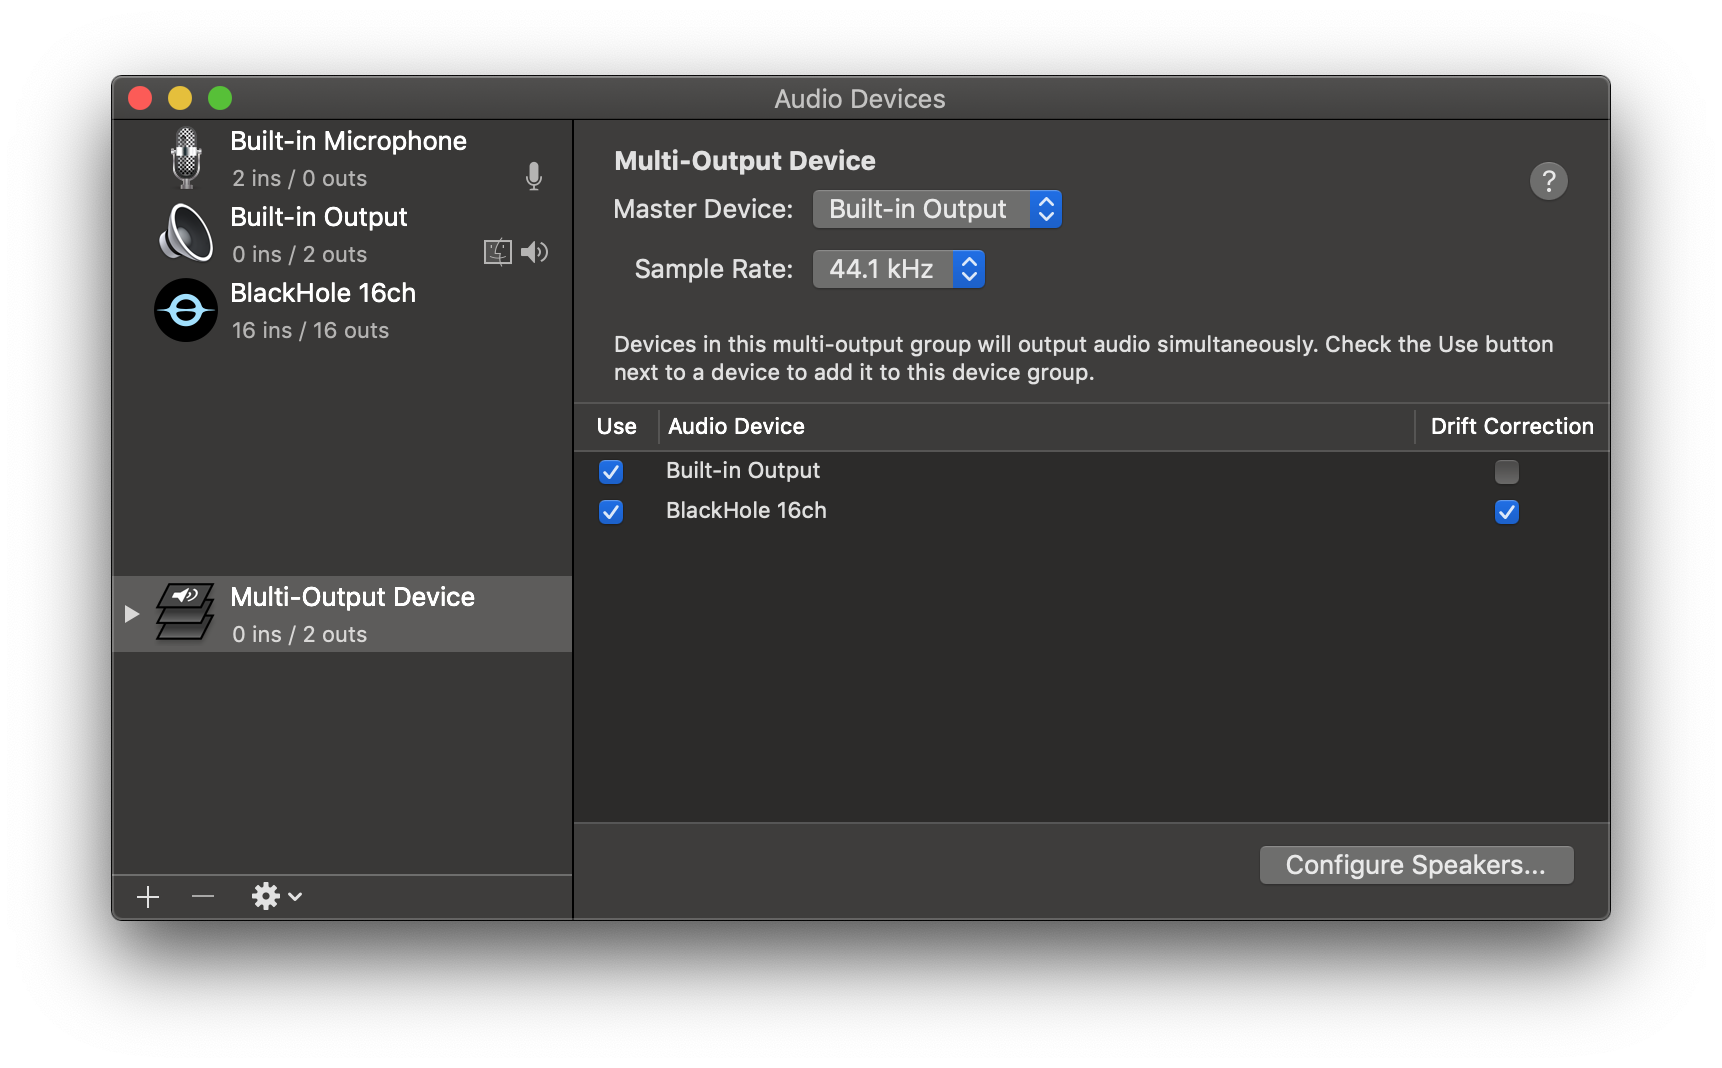
Select this multi-output device as your speaker (application or system-wide) to play audio into BlackHole.
Open Buzz, select BlackHole as your microphone, and record as before to see transcriptions from the audio playing through BlackHole.