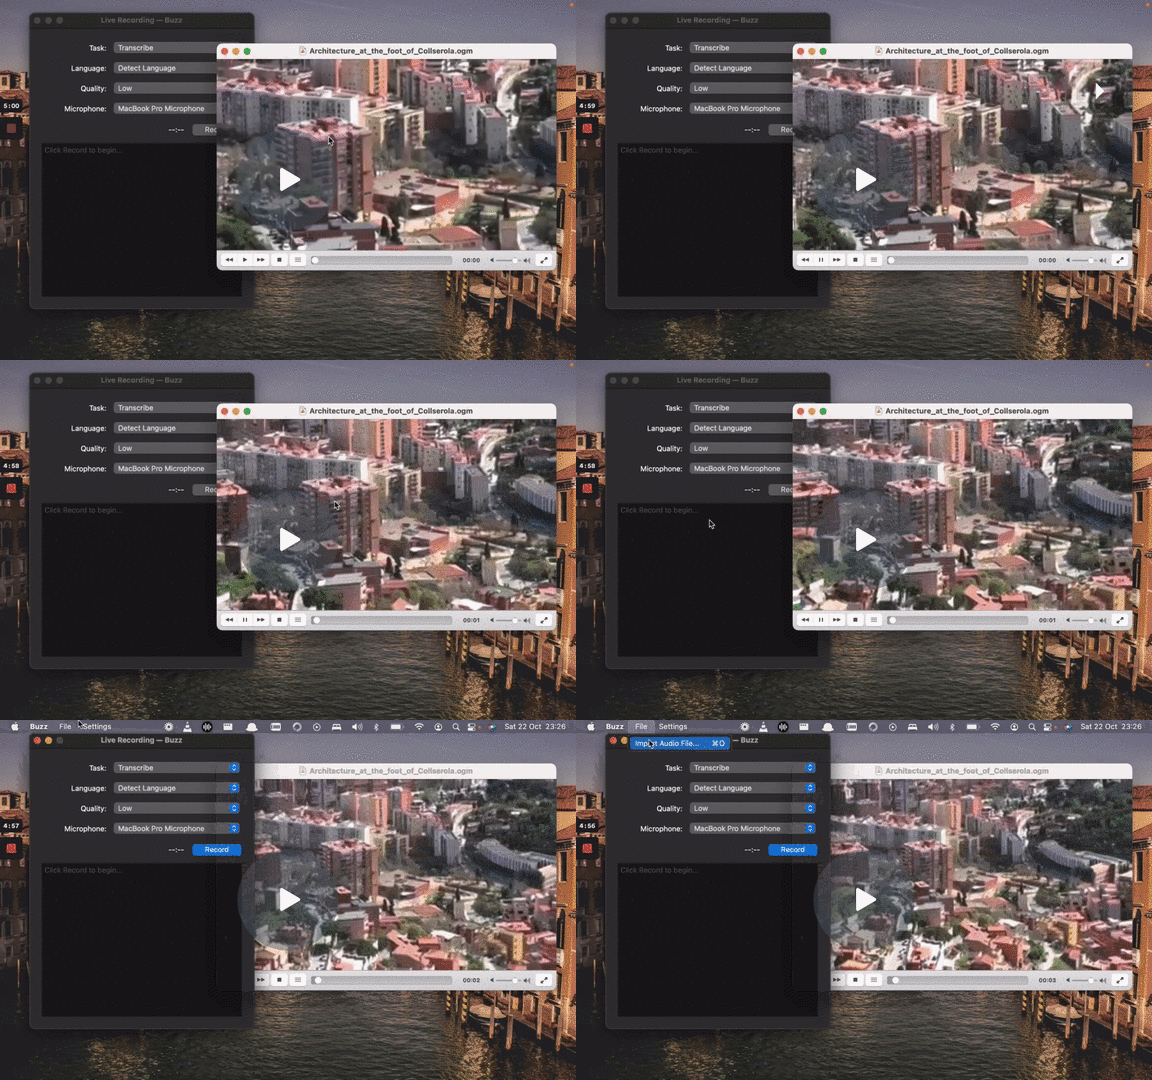
File Import
To import a file:
- Click Import Media File on the File menu (or the '+' icon on the toolbar, or Command/Ctrl + O).
- Choose an audio or video file.
- Select a task, language, and the model settings.
- Click Run.
- When the transcription status shows 'Completed', double-click on the row (or select the row and click the '⤢' icon) to open the transcription.
Available options:
To reduce misspellings you can pass some commonly misspelled words in an Initial prompt that is available under Advanced... button. See this guide on prompting.
| Field | Options | Default | Description |
|---|---|---|---|
| Export As | "TXT", "SRT", "VTT" | "TXT" | Export file format |
| Word-Level Timings | Off / On | Off | If checked, the transcription will generate a separate subtitle line for each word in the audio. Combine words into subtitles afterwards with the resize option. |
| Extract speech | Off / On | Off | If checked, speech will be extracted to a separate audio tack to improve accuracy. Available since 1.3.0. |
(See the Live Recording section for more information about the task, language, and quality settings.)
💡 Tip: It is recommended to always select language to transcribe to as automatic language detection may result in unexpected results.
