Live Recording
To start a live recording:
- Select a recording task, language, quality, and microphone.
- Click Record.
Note: Transcribing audio using the default Whisper model is resource-intensive. Consider using the Whisper.cpp. It supports GPU acceleration, if the model fits in GPU memory. Use smaller models for real-time performance.
| Field | Options | Default | Description |
|---|---|---|---|
| Task | "Transcribe", "Translate to English" | "Transcribe" | "Transcribe" converts the input audio into text in the selected language, while "Translate to English" converts it into text in English. |
| Language | See Whisper's documentation for the full list of supported languages | "Detect Language" | "Detect Language" will try to detect the spoken language in the audio based on the first few seconds. However, selecting a language is recommended (if known) as it will improve transcription quality in many cases. |
| Microphone | [Available system microphones] | [Default system microphone] | Microphone for recording input audio. |

Advanced preferences
Silence threshold Set threshold to for transcriptions to be processed. If average volume level is under this setting the sentence will not be transcribed. Available since 1.4.4.
Line separator Marking to add to the transcription and translation lines. Default value is two new lines (\n\n) that result in an empty space between translation or transcription lines. To have no empty line use \n. Available since 1.4.4.
Transcription step If live recording mode is set to Append and correct, you can also set a transcription step. Shorter steps will reduce latency but cause larger load on the system. Monitor the Queue while transcribing in this mode, if it grows too much, increase the transcription step, to reduce load. Available since 1.4.4.
Hide unconfirmed If live recording mode is set to Append and correct, you can also hide the unconfirmed part of the last transcript. This part may be incorrect as the Buzz has seen it only in one overlapping transcription segment. Hiding it will increase latency, but result will show only the correct transcripts. Available since 1.4.4.
Presentation Window
Buzz has an easy to use presentation window you can use to show live transcriptions during events and presentations. To open it start the recording and new options for the Presentation window will appear.
Record audio playing from computer (macOS)
To record audio playing from an application on your computer, you may install an audio loopback driver (a program that lets you create virtual audio devices). The rest of this guide will use BlackHole on Mac, but you can use other alternatives for your operating system ( see LoopBeAudio, LoopBack, and Virtual Audio Cable).
Install BlackHole via Homebrew
brew install blackhole-2chOpen Audio MIDI Setup from Spotlight or from
/Applications/Utilities/Audio Midi Setup.app.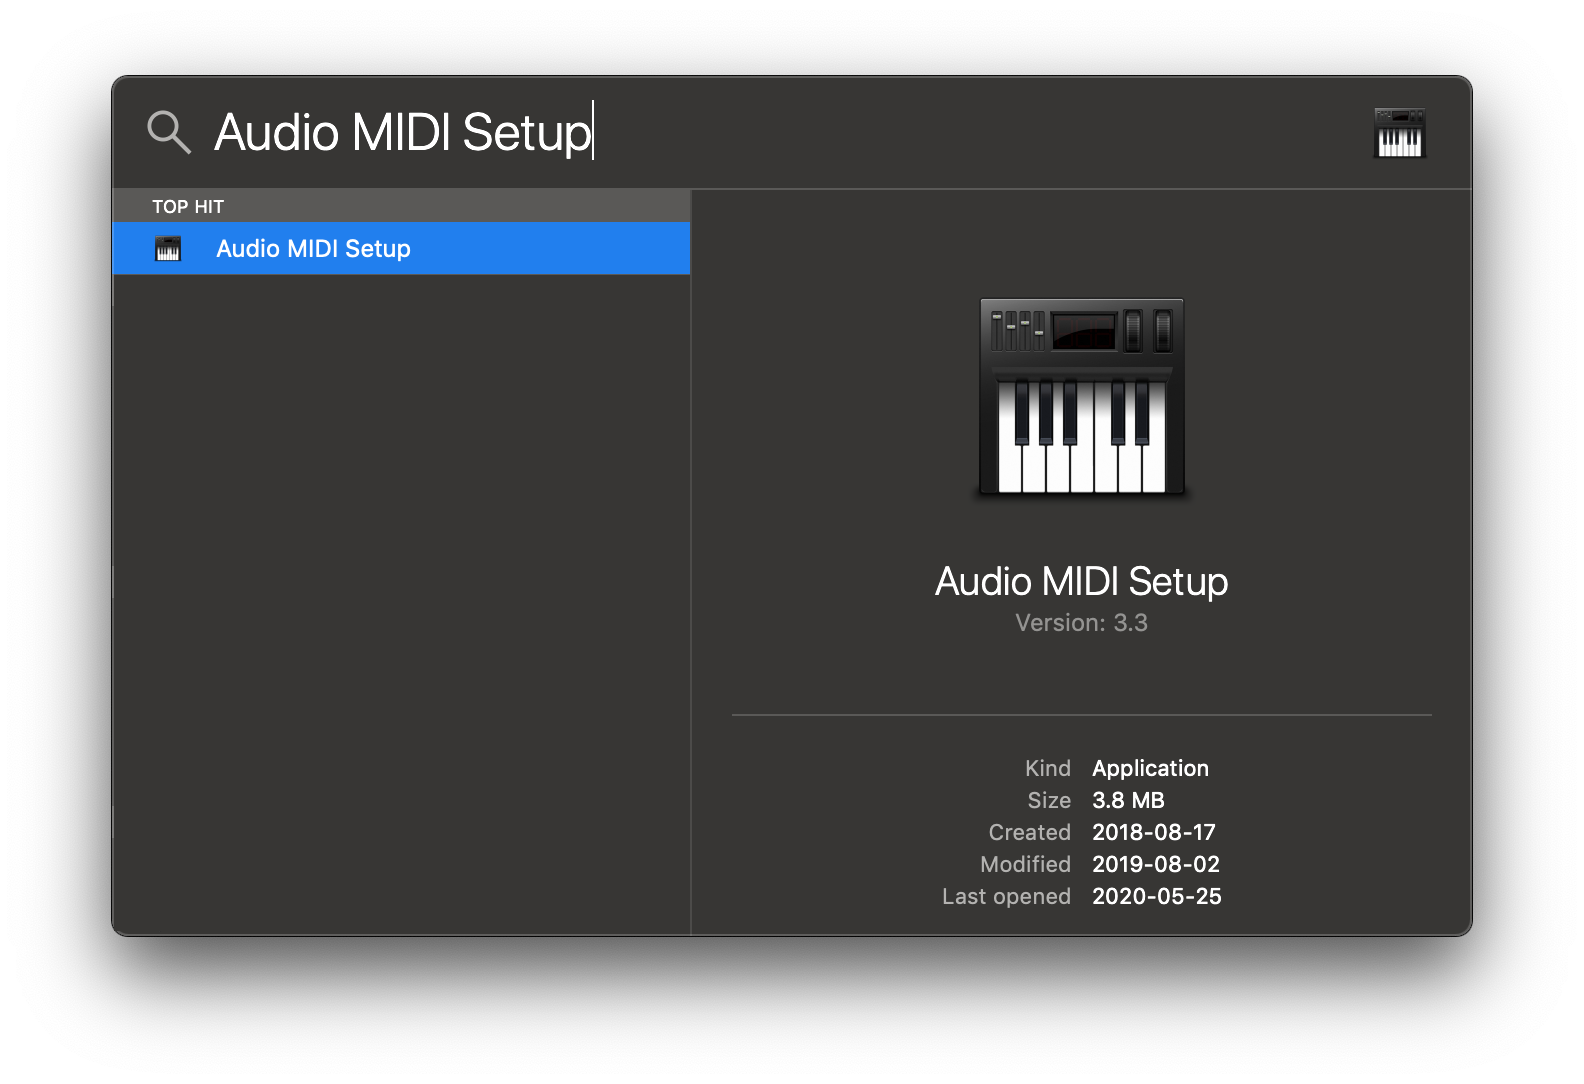
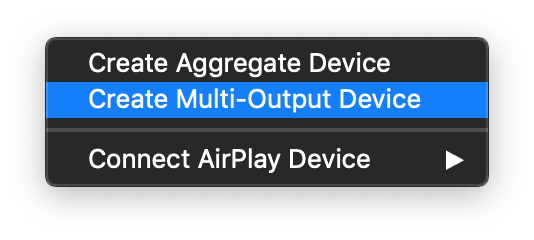
Click the '+' icon at the lower left corner and select 'Create Multi-Output Device'.
Add your default speaker and BlackHole to the multi-output device.
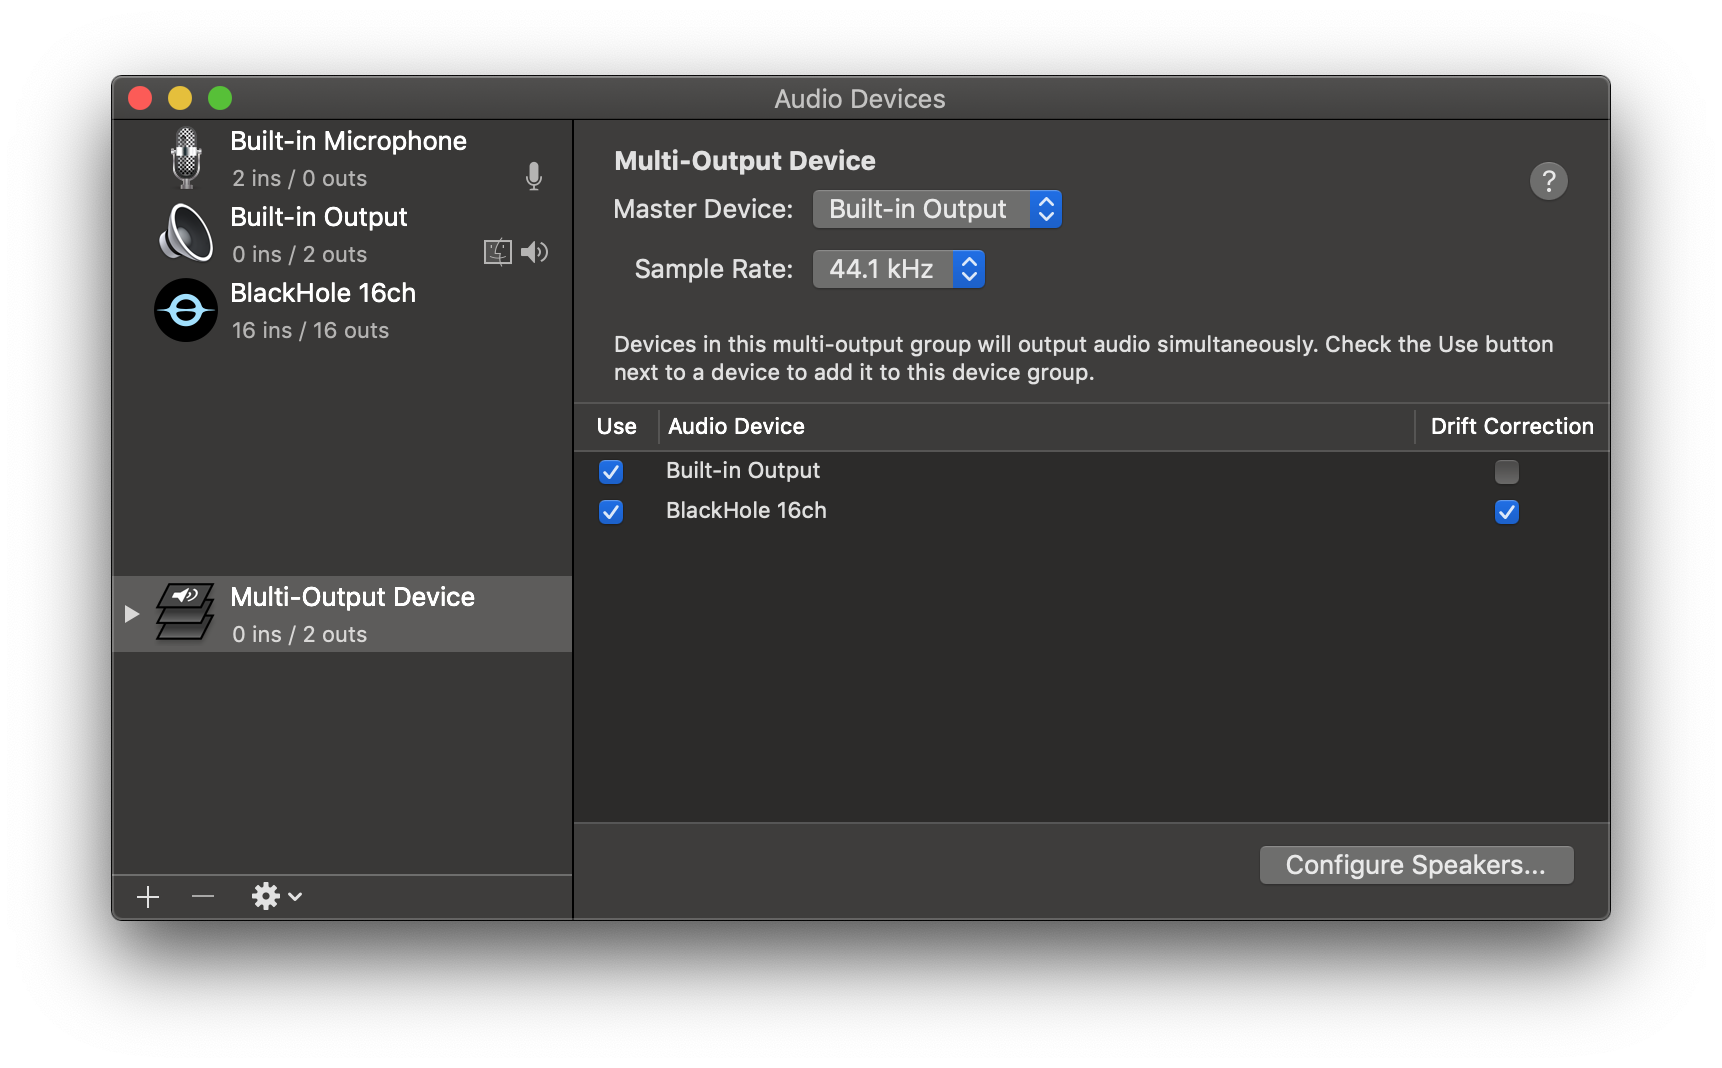
Select this multi-output device as your speaker (application or system-wide) to play audio into BlackHole.
Open Buzz, select BlackHole as your microphone, and record as before to see transcriptions from the audio playing through BlackHole.
Record audio playing from computer (Windows)
To transcribe system audio you need to configure virtual audio device and connect output from the applications you whant to transcribe to this virtual speaker. After that you can select it as source in the Buzz.
Install VB CABLE as virtual audio device.
Configure using Windows Sound settings. Right-click on the speaker icon in the system tray and select "Open Sound settings". In the "Choose your output device" dropdown select "CABLE Input" to send all system sound to the virtual device or use "Advanced sound options" to select application that will output their sound to this device.
Record audio playing from computer (Linux)
As described on Ubuntu Wiki on any Linux with pulse audio you can redirect application audio to a virtual speaker. After that you can select it as source in Buzz.
Overall steps:
- Launch application that will produce the sound you want to transcribe and start the playback. For example start a video in a media player.
- Launch Buzz and open Live recording screen, so you see the settings.
- Configure sound routing from the application you want to transcribe sound from to Buzz in
Recording tabof the PulseAudio Volume Control (pavucontrol).